Discounts & promotions
Discounts let you reduce prices automatically (happy hour), with a promo code, or manually at the till. You manage them in two places that show the same list:
- Products → Discounts
- Settings → Discounts

Good to know: Changes in one place appear in the other. Use whichever menu is closer to what you’re doing.
When to use which type
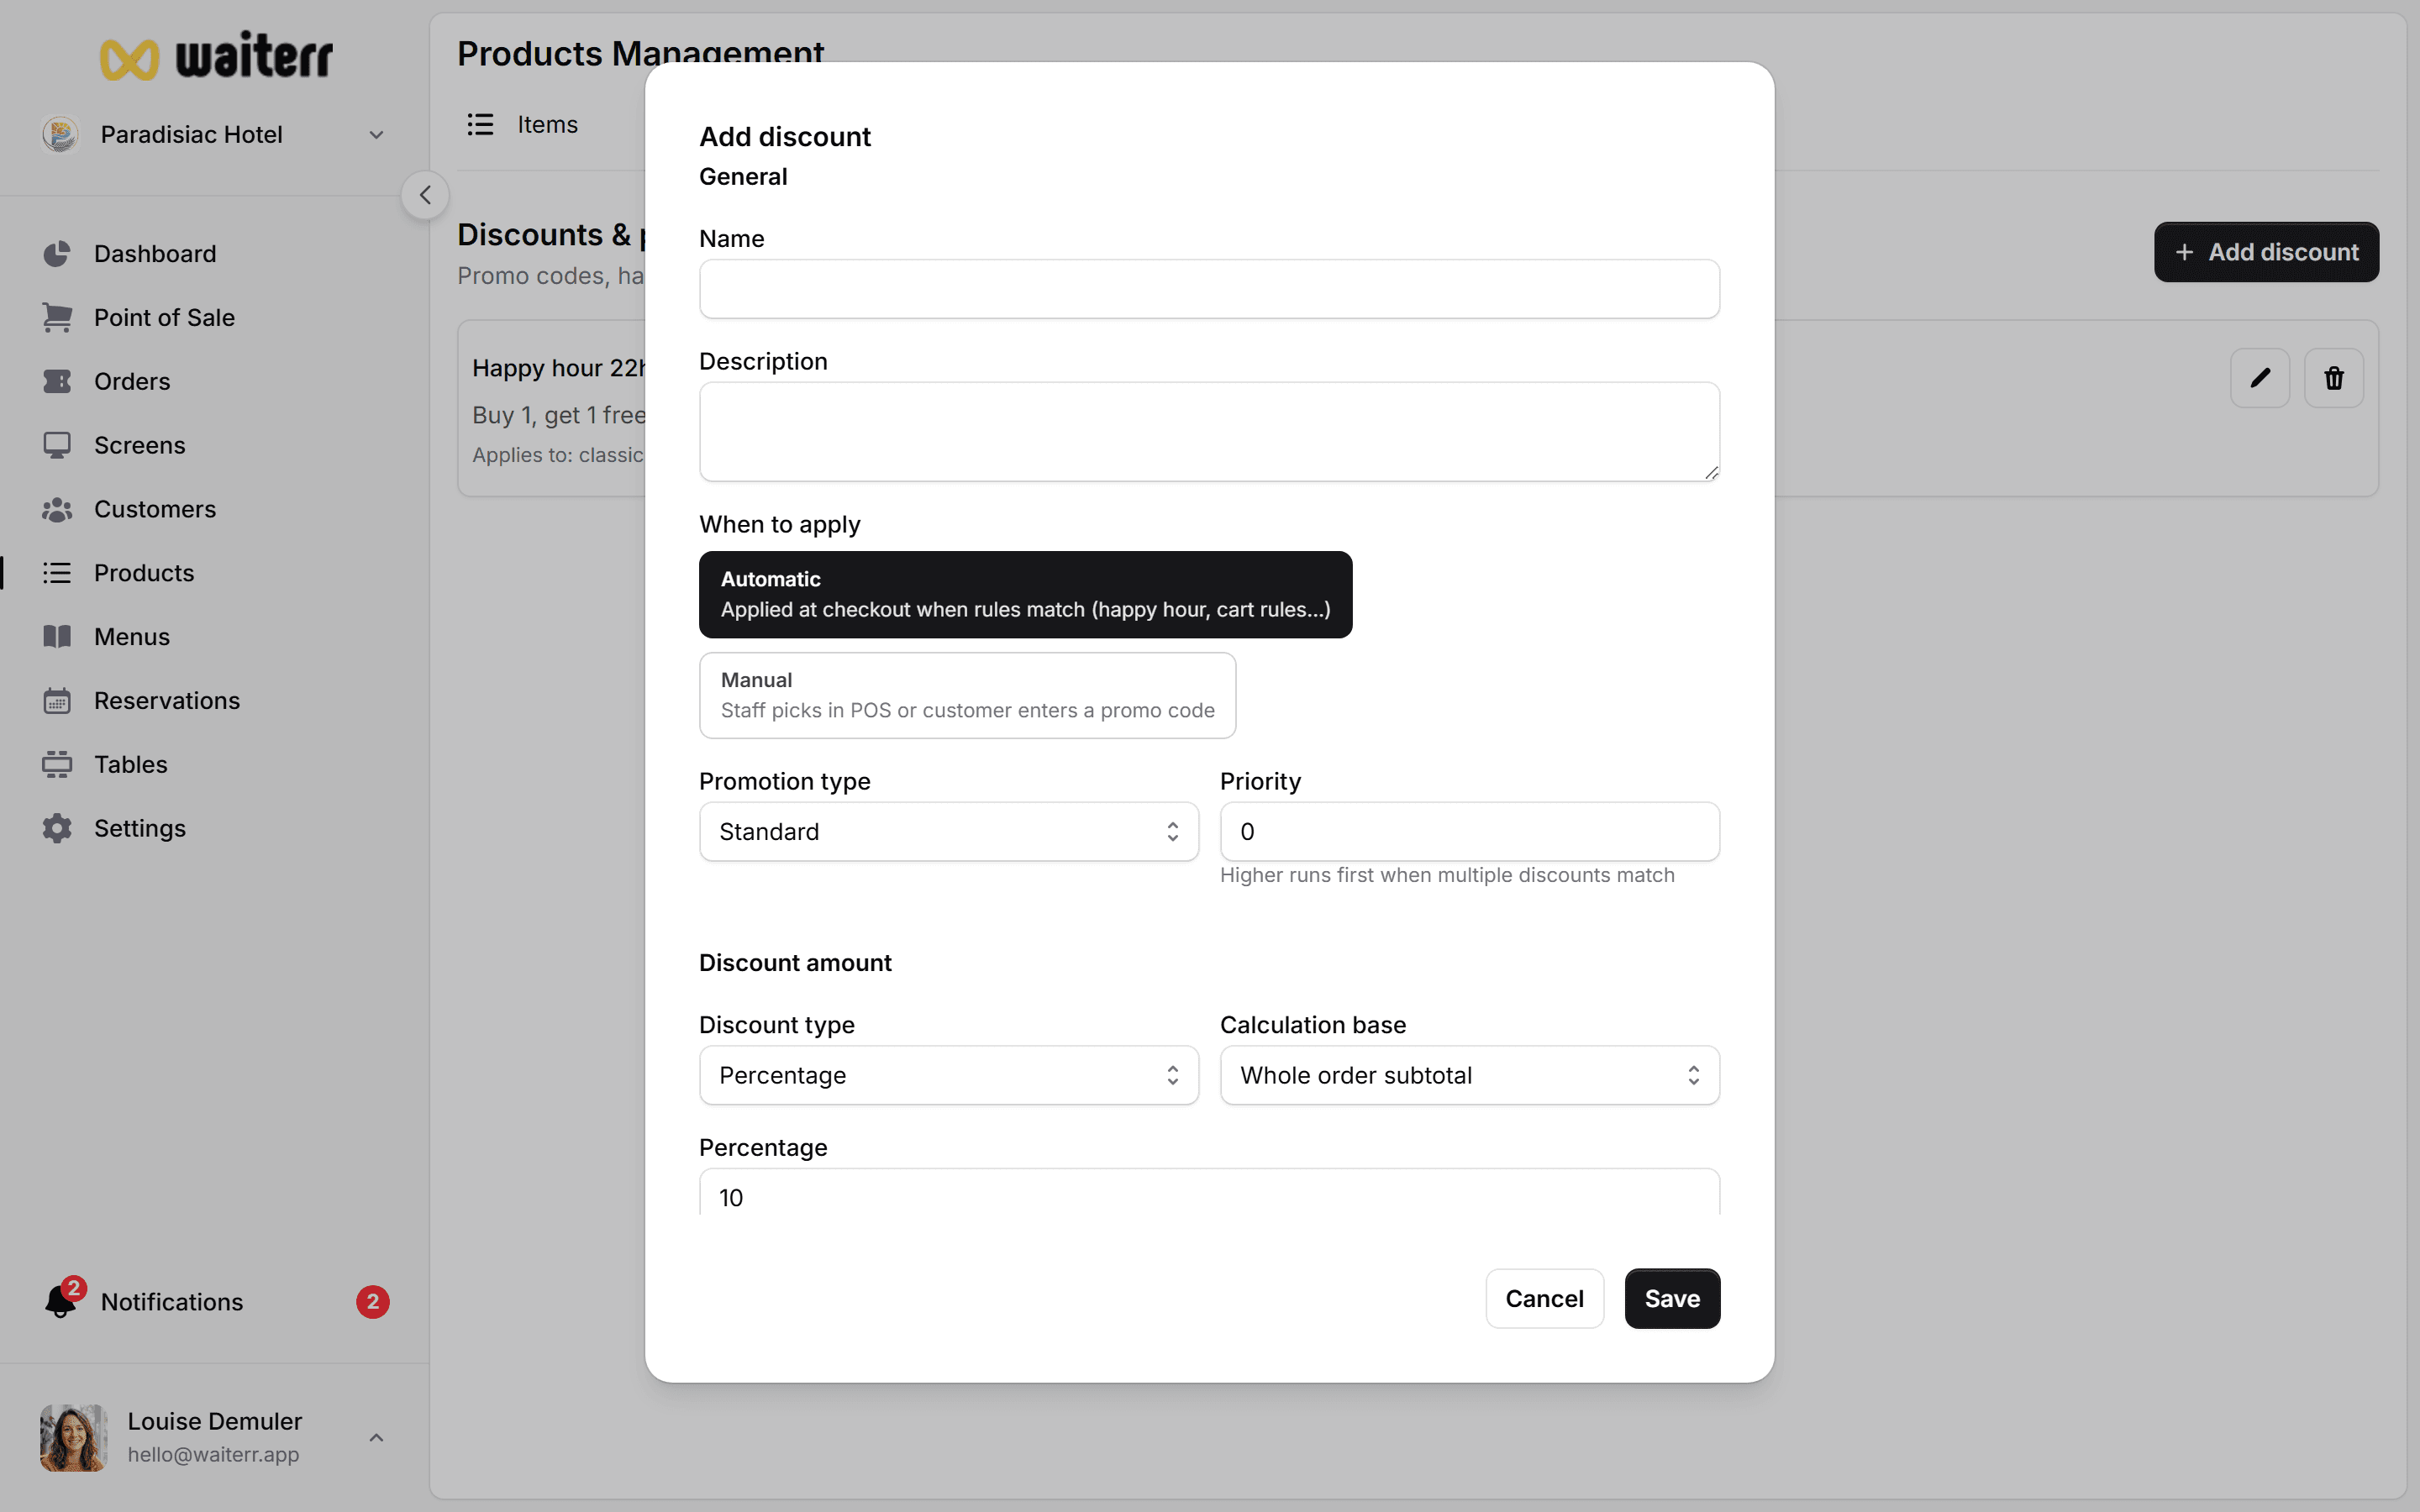
Step by step — create a discount
- Go to Products → Discounts (or Settings → Discounts)
- Click Add discount
- Choose a name your team will recognise (e.g. “Happy Hour Beer”)
- Pick the type (Standard, Happy hour, or Promo code)
- Set how much to reduce:
- Percentage (e.g. 10%)
- Fixed amount (e.g. €2 off)
- Buy X get Y (e.g. buy 2 burgers, get 1 free)
- Choose what it applies to:
- Whole order
- Specific products
- Specific categories
- Optional: restrict to order types (dine-in, takeaway, delivery, QR)
- For happy hour: add schedules (days + time ranges)
- For promo codes: enter the code customers must type
- Click Save
Automatic vs manual application
- Automatic — applied when conditions match (time, products, order type). Customer doesn’t need to do anything.
- Manual — staff selects the discount on the POS or enters a code.
Staff-only discounts are always manual. They won’t apply online without someone at the till.
Stacking & priority
- Stackable — can combine with other discounts (use carefully)
- Priority — higher number wins when several automatic discounts could apply
- Excluded discounts — block specific discounts from combining
Tips for restaurants
💡 Start with one happy hour rule before adding complex promo codes
💡 Test on a small category first (e.g. “Soft drinks only”)
💡 Use clear names — “HH-Drinks” is easier than “Discount #3” at rush hour
💡 Turn off inactive seasonal promos instead of deleting (keeps history clean)
Related pages
👉 POS — paying orders
👉 Takeaway & delivery services
👉 Taxes
Last updated on