Managing reservations (reservation board)
The Reservations page is your daily control centre for table bookings. It is separate from Settings → Services where you configure online booking rules.
Open the reservation board
- Click Reservations in the left menu
- Pick a date (today, tomorrow, or any day)
- Choose a service shift (lunch, dinner, etc.) if you use multiple shifts
Two views
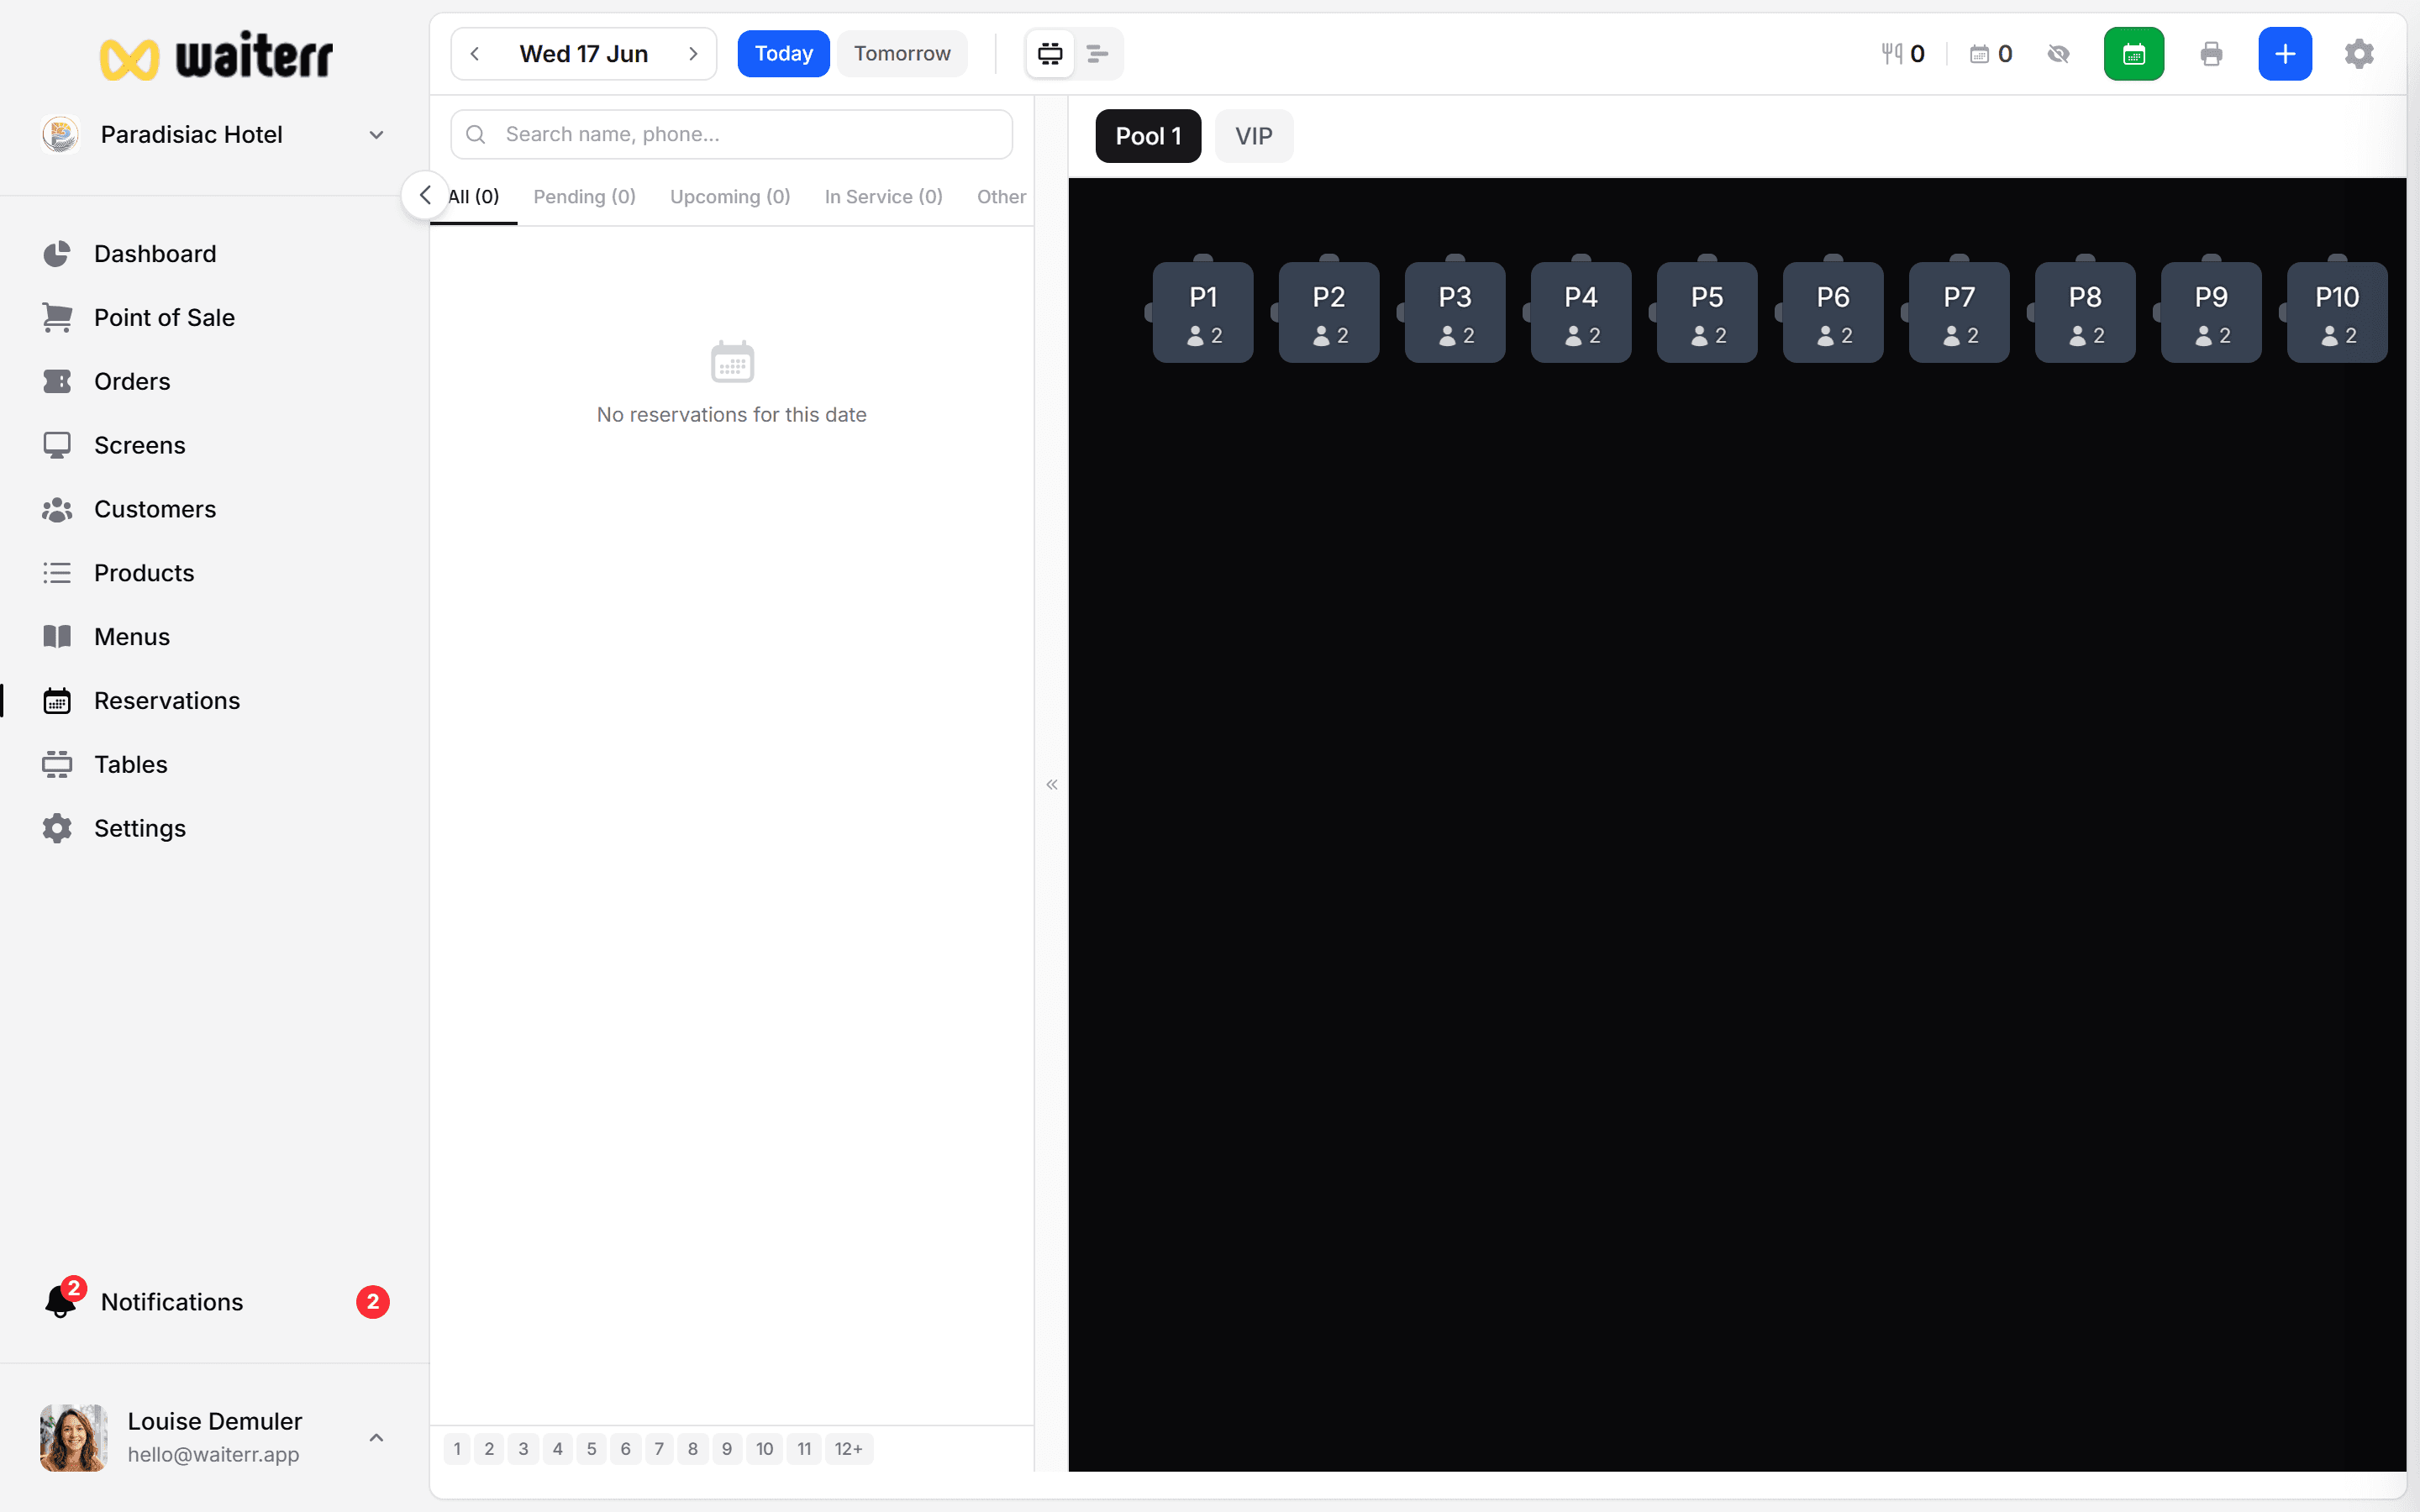
Floor plan view
Shows your tables like on the Tables page, with reservation blocks on each table.
- Green / occupied — reservation in progress
- Click a table to see or create a booking
- Drag reservations between tables when you reseat guests
Timeline view
A horizontal timeline of the day — ideal for seeing gaps and overlaps.
- Each row is a table (or table group)
- Blocks show party size and time slot
- Good for spotting double-bookings

Create a reservation manually
- Click + New reservation (or click an empty slot on the timeline)
- Enter:
- Customer name and phone (required for callbacks)
- Party size
- Date and time
- Table (optional — can assign later)
- Notes (allergies, high chair, terrace preference…)
- Save
Walk-ins without a profile are fine — name + phone is enough.
Filter tabs
Common actions
- Confirm — accept a pending online request
- Seat — mark guests as arrived (table turns “in service”)
- Move — change table or time
- Cancel — with optional reason
- Print — day list for the host stand
Before you use this page
Make sure you have:
- Areas and tables configured
- Online reservations enabled (if guests book themselves)
- Reservation shifts defined in Settings → Services → Reservations
Without tables, the floor plan view will be empty.
Tips for the host / floor manager
💡 Keep the board open on a tablet at the entrance
💡 Use search to find a name quickly during a busy service
💡 Collapse the list on mobile to focus on the floor plan
💡 Sync with POS: seated reservations link to table selection
Related pages
Last updated on